
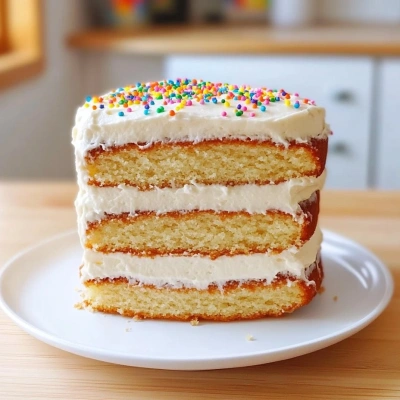
Classic Vanilla Layer Cake is the kind of dessert that reminds me why simple baking can be so powerful. If you want a cake that is tender, fragrant, and universally loved, this is the one to make. I’ve always admired how vanilla, when handled with care, turns into something deeply comforting yet refined. The soft layers, the creamy frosting, and that sweet buttery aroma create a cake that feels celebratory without ever being fussy. It is the perfect centerpiece for birthdays, afternoon tea, or any moment that deserves a little sweetness and grace.
Why I Love This Recipe
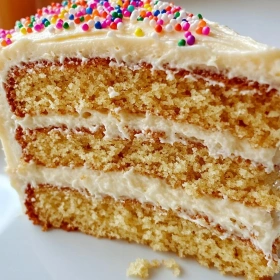
What I love most about a classic vanilla cake is its honesty. In many European and American home kitchens, this is the cake that teaches the fundamentals: creaming butter and sugar properly, folding with restraint, and baking until the crumb is just set and springy. There’s a beautiful discipline to it. I still remember the first time I cut into a well-made slice and saw that pale golden interior, evenly aerated and fragrant with vanilla. It tasted like celebration, but also like trust—the kind you place in a recipe that has earned its place on the table for generations. For a professional cook, that balance of technique and nostalgia is endlessly fascinating.
What You Need From Your Kitchen
Stand mixer
Essential for properly creaming the butter and sugar so the batter traps enough air for a light, even crumb
Offset spatula
Lets you spread frosting cleanly across the layers and create a smooth, bakery-style finish
9-inch cake pans
The right size for building tall, even layers that bake through without drying out
Parchment rounds
Prevents sticking and protects the delicate bottom of the cake as it releases from the pan
Wire rack
Cools the layers evenly so steam escapes and the frosting won’t melt on contact
Perfect Pairings
Fresh berries
Their tart juiciness cuts through the sweet buttercream and brightens each rich bite
Hot Earl Grey tea
The bergamot notes echo the vanilla beautifully and make the cake feel especially elegant
Sparkling rosé
Its crisp bubbles and light fruitiness lift the buttery crumb for birthdays or bridal showers
Vanilla bean ice cream
Double down on the dessert’s warm, aromatic profile for a truly decadent finish
Sunday brunch or afternoon celebration
This cake feels just as right beside coffee cups as it does as a centerpiece for a festive table
Pro Tips
- Cream the butter and sugar until pale and fluffy, not just combined. That aeration builds the cake’s fine, lofty crumb and helps the layers rise evenly without feeling dense.
- Add the eggs one at a time and emulsify well after each addition. This keeps the batter stable, so the baked layers stay smooth, tender, and free of curdled pockets.
- Alternate dry ingredients with milk and mix only until the batter disappears. Overmixing develops gluten, which can toughen a classic vanilla layer cake and mute its soft, buttery bite.
- Bake the layers until the centers spring back lightly and the edges barely pull from the pan. That timing preserves moisture, giving you a cake that tastes plush rather than dry.
- Chill the layers before frosting for the cleanest finish. A cool crumb holds buttercream beautifully, preventing crumbs from tearing loose and giving the final slice that polished patisserie look.
🍳 Your Cooking Progress
Ingredients Gathered
0/11 CompleteCooking Steps
0/7 CompleteRecipe Mastery
0% CompleteClassic Vanilla Layer Cake
Classic Vanilla Layer Cake shines with a fine, even crumb, achieved through precise creaming and gentle mixing. The vanilla aroma blooms as it bakes, while the silky buttercream adds a lush finish that melts beautifully on the tongue.
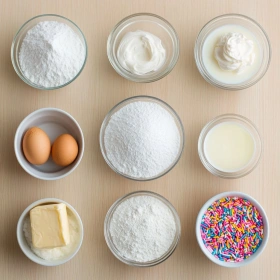
Ingredients
💡 Click on ingredients to check them off!
- 2 1/2 cups all-purpose flour
- 1 1/2 cups granulated sugar
- 3 1/2 teaspoons baking powder
- 1/2 teaspoon fine sea salt
- 1 cup unsalted butter, softened
- 4 large eggs, at room temperature
- 1 tablespoon pure vanilla extract
- 1 cup whole milk, at room temperature
- 1/2 cup sour cream
- 3 cups vanilla buttercream frosting
- 2 tablespoons rainbow sprinkles
Instructions
💡 Click on steps to mark as complete!
-
1Prepare the pans and ovenHeat the oven to 350°F and grease two 9-inch round cake pans, then line the bottoms with parchment. This extra step guarantees clean release and protects the tender crumb from tearing, especially when the cakes are cooled and inverted for layering.
-
2Combine the dry ingredientsWhisk the flour, sugar, baking powder, and salt together in a large bowl until evenly distributed. A thorough whisk aerates the mixture and prevents bitter pockets of leavener, helping the final cake bake into a fine, even, bakery-style crumb.
-
3Cream the butter baseBeat the softened butter on medium speed until pale and fluffy, about 2 to 3 minutes. Add the eggs one at a time, mixing well after each addition, then blend in the vanilla. This emulsifies the batter and builds structure without making the cake dense.
-
4Build the batter smoothlyAdd the dry ingredients in three additions, alternating with the milk and sour cream, beginning and ending with dry ingredients. Mix just until combined; overmixing develops gluten and can toughen the layers, while sour cream adds moisture and a subtle tang.
-
5Divide and bake evenlyScrape the batter into the prepared pans and smooth the tops with an offset spatula for level layers. Bake for 28 to 32 minutes, until the cakes are golden and a tester comes out with a few moist crumbs, not wet batter.
-
6Cool and level the layersLet the cakes rest in the pans for 10 minutes, then turn them out onto a wire rack to cool completely. If needed, trim the domes with a serrated knife for clean stacking; a fully cooled cake prevents frosting from melting and sliding.
-
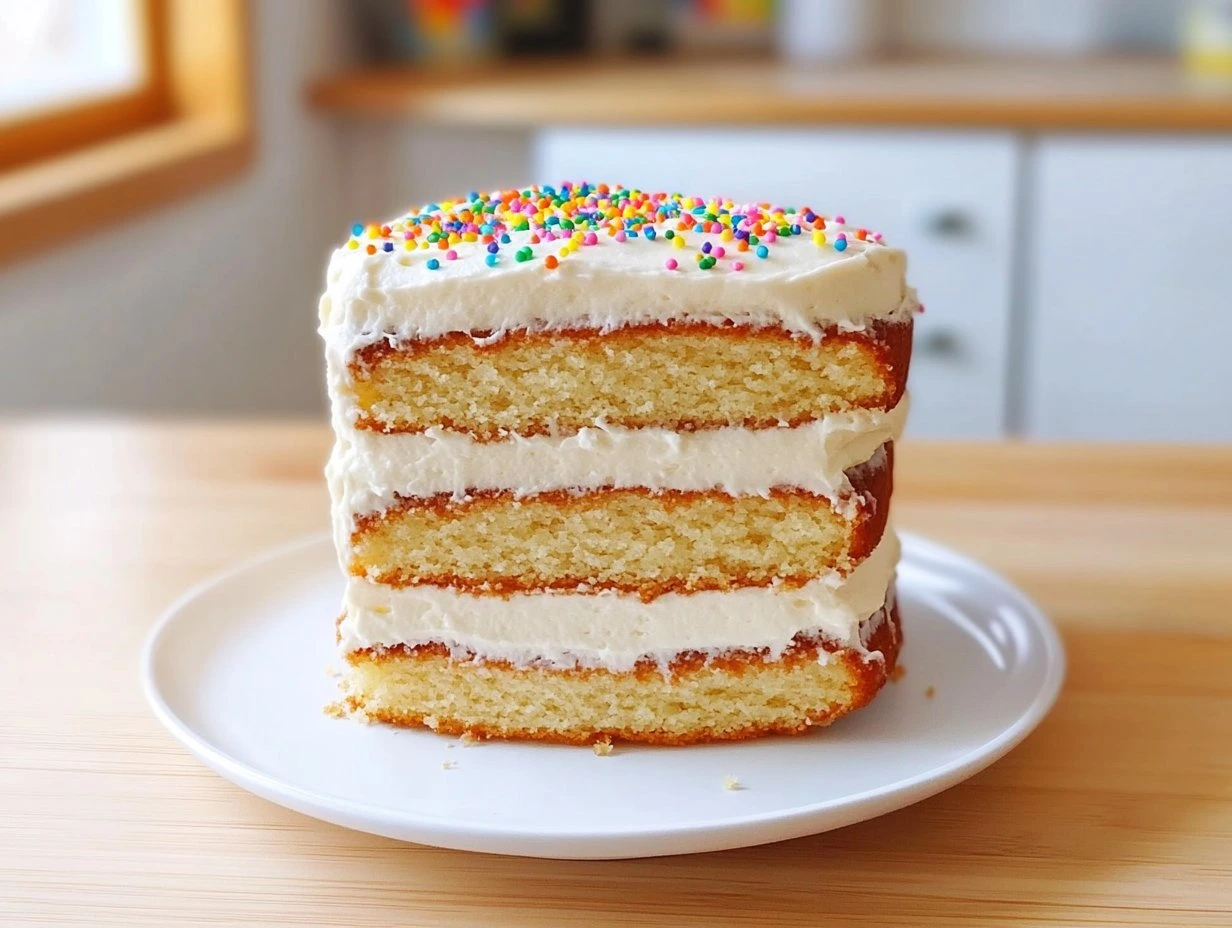
7Fill, frost, and finishPlace one layer on a serving plate, spread with a generous layer of vanilla buttercream, then top with the second layer. Frost the sides and top in smooth, even strokes, finishing with sprinkles for a cheerful look and a soft vanilla-forward bite.
Nutrition Facts (Per Serving)
Chef's Notes
- Store the frosted classic vanilla layer cake covered in the refrigerator for up to 4 days; the buttercream keeps the crumb plush while the vanilla aroma stays clean and fragrant.
- For make-ahead convenience, bake the layers a day early, wrap them tightly once cool, and frost the next day. The chilled cake slices more neatly and tastes even more settled.
- If freezing, wrap each unfrosted layer in plastic and foil after cooling completely. Thaw overnight in the refrigerator so the crumb stays tender and the butter flavor remains bright.
- Whole milk gives this cake its lush, bakery-style richness. If needed, use 2% milk, but avoid skim milk, which can make the crumb feel less velvety and slightly dry.
- If substituting vanilla bean paste for extract, use the same amount for a deeper flecked appearance and a more perfumed vanilla finish that feels especially elegant in a layer cake.