
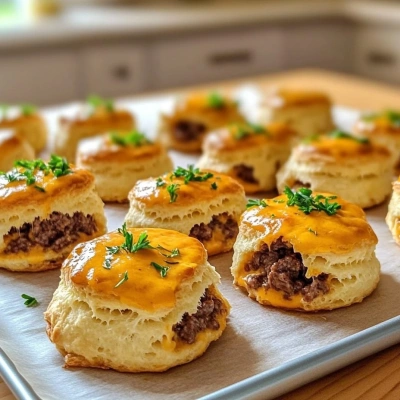
Cheesy Beef Filled Bites are exactly the kind of snack I fall for in a busy kitchen: compact, hearty, and loaded with flavor. You should make these because they deliver everything people crave in one bite—savory beef, molten cheese, and a golden finish that smells like pure comfort as it bakes. I first found myself reaching for a tray like this during an evening of casual entertaining, when the first crack of the crust and the pull of the cheese told me the recipe had real magic. They are simple enough for weeknights, but polished enough to steal the spotlight at any gathering.
Why I Love This Recipe
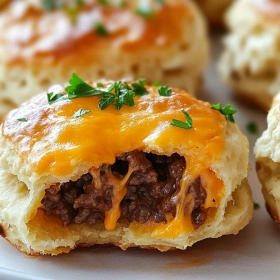
What I love most about this dish is its universal appeal with a distinctly comfort-food soul. It reminds me of the clever little stuffed breads and hand pies you find across so many cuisines—recipes built to be portable, shareable, and deeply satisfying. The technique is beautifully practical: season the beef well, cook it until it’s richly browned, then tuck it into a tender casing so the juices stay inside while the cheese melts into the filling. That contrast between crisp, browned exterior and soft, savory center is what makes a chef smile. One bite has the warmth of a home kitchen and the excitement of something made to be passed around the table.
What You Need From Your Kitchen
Sheet Pan
Gives the bites enough space to bake evenly so the tops brown instead of steaming
Skillet
Essential for properly browning the beef and building that savory fond before stuffing
Mixing Bowl
Helps combine the meat, cheese, and seasonings without overhandling the mixture
Pastry Brush
Useful for adding a glossy egg wash or butter finish that promotes deep golden color
Small Scoop or Spoon
Makes portioning the filling neat and consistent so each bite bakes at the same rate
Perfect Pairings
Garlic herb dipping sauce
Its creamy, punchy finish lifts the rich beef and melted cheese without overpowering the savory filling
Crisp green salad
The fresh crunch and bright vinaigrette cut through the richness and keep the plate balanced
Dry red wine or amber ale
Both have enough structure to stand up to the beefy, cheesy depth
Game day platter with pickles and olives
The briny contrast makes each bite feel even more indulgent and snackable
Casual movie night or party spread
These are ideal finger food when you want something warm, comforting, and easy to share
Pro Tips
- Cook the beef filling until it is well browned and nearly dry before stuffing; excess moisture steams the dough from inside and can make the bottoms gummy instead of crisp.
- Chill the filling briefly before assembling. A cool filling keeps the cheese from melting too early, which helps the bites hold their shape and bake into neat, bakery-style rounds.
- Seal the edges firmly and tuck the seam underneath. That extra care prevents cheesy leaks, and it gives the bites a cleaner, more elegant presentation once they emerge lacquered and golden.
- Brush lightly with egg wash rather than flooding the surface. A thin coat encourages even browning and that glossy, bronzed finish without weighing down the delicate pastry.
- Bake on a preheated sheet or hot baking stone if possible; the immediate heat helps set the base quickly, creating a sturdier shell and better contrast between crisp exterior and juicy filling.
🍳 Your Cooking Progress
Ingredients Gathered
0/12 CompleteCooking Steps
0/7 CompleteRecipe Mastery
0% CompleteCheesy Beef Filled Bites
Cheesy Beef Filled Bites bring together browned beef, sharp cheese, and a deeply satisfying bake that turns the tops bronzed and bubbling. The filling stays juicy while the outside bakes into a tender, savory shell with gorgeous caramelized edges.
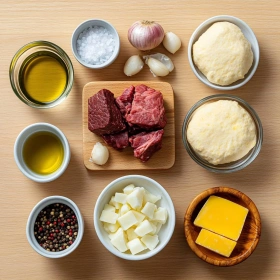
Ingredients
💡 Click on ingredients to check them off!
- 1 pound lean ground beef
- 1 tablespoon extra-virgin olive oil
- 1 small yellow onion, finely diced
- 2 cloves garlic, minced
- 1 teaspoon kosher salt
- 1/2 teaspoon freshly ground black pepper
- 1 teaspoon smoked paprika
- 1 tablespoon Worcestershire sauce
- 1 cup shredded sharp cheddar cheese
- 1 can refrigerated biscuit dough, 16.3 ounces
- 2 tablespoons chopped fresh parsley
- 1 large egg, beaten
Instructions
💡 Click on steps to mark as complete!
-
1Brown the aromaticsHeat the olive oil in a skillet over medium heat, then add the diced onion and cook until translucent and sweetly fragrant, about 3 minutes. Stir in the garlic just until aromatic so it stays mellow and does not turn bitter.
-
2Cook the beef fillingAdd the ground beef, breaking it into fine crumbles with a spatula. Season with salt, pepper, smoked paprika, and Worcestershire sauce, then cook until no pink remains. Drain excess fat so the filling stays rich, not greasy.
-
3Finish with cheeseRemove the skillet from the heat and fold in the shredded cheddar while the mixture is still hot. The cheese should melt just enough to bind the filling, giving each bite a creamy, savory center that smells deeply beefy and inviting.
-
4Shape the bitesSeparate the biscuit dough and flatten each piece into a small round about 3 inches wide. Spoon a heaping tablespoon of filling into the center, then gather the edges over the top and pinch firmly to seal tightly.
-
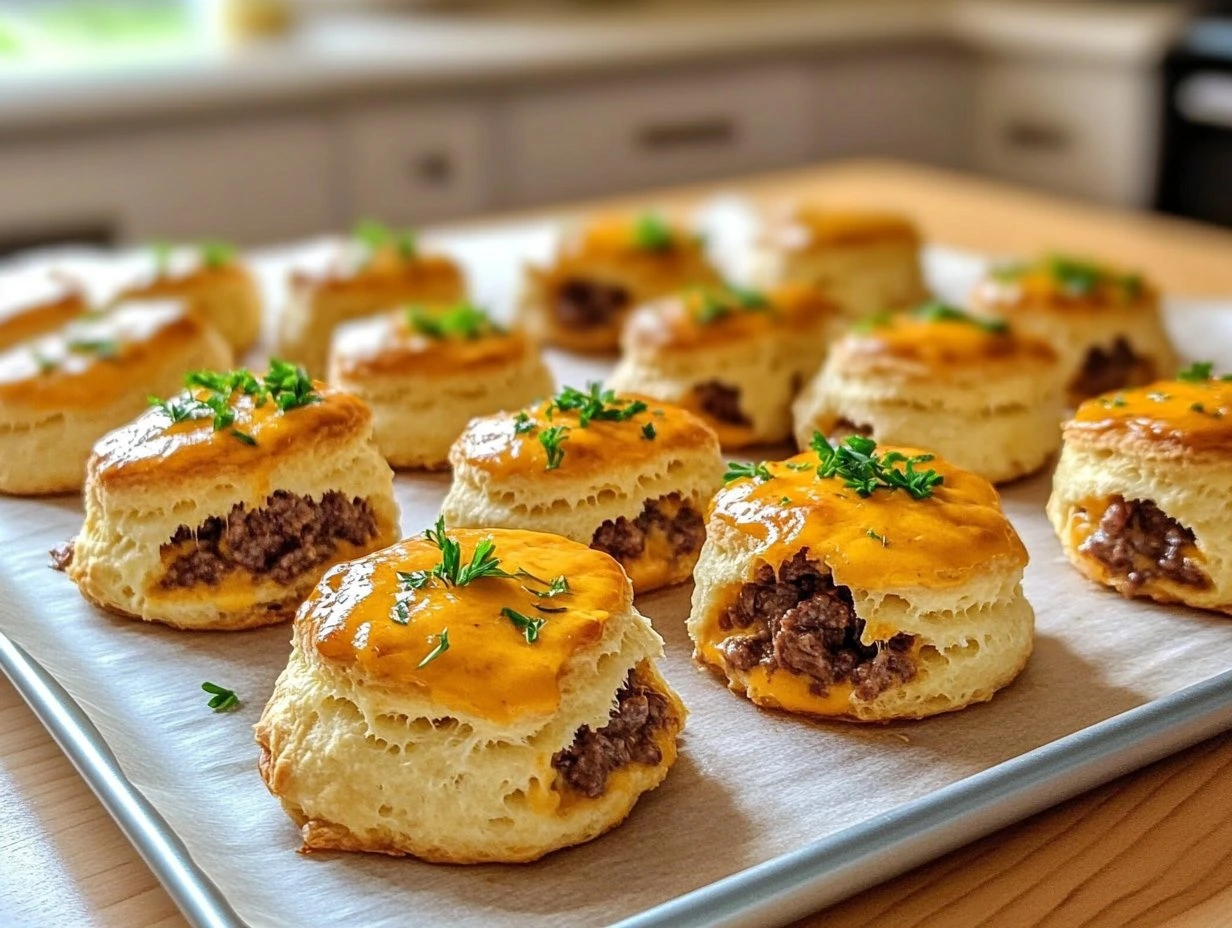
5Arrange for even bakingPlace the filled dough seam-side down on a greased baking sheet, leaving a little space for expansion. Brush each piece lightly with beaten egg to encourage a glossy, burnished crust and a tender, bakery-style finish.
-
6Bake until goldenBake in a preheated 375°F oven for 15 to 18 minutes, until the tops are deeply golden and the bottoms are cooked through. Look for some cheese bubbling at the seams as a sign of perfect melt.
-
7Garnish and serveLet the bites rest for 5 minutes so the molten filling settles slightly, then shower with chopped parsley. Serve warm for the best contrast between the crisp exterior, soft bread, and luscious cheesy beef center.
Nutrition Facts (Per Serving)
Chef's Notes
- Store cooled Cheesy Beef Filled Bites in an airtight container in the refrigerator for up to 4 days; the pastry stays best when separated with parchment to protect the crisped tops.
- For freezing, wrap each bite individually after baking and cooling, then freeze in a single layer before bagging; this preserves the beefy center and prevents the cheese from glueing them together.
- To reheat from chilled, use a 350°F oven or air fryer so the shell re-crisps and the cheese turns silky again; the microwave will soften the golden crust.
- If making ahead, assemble the filled bites and refrigerate unbaked for up to 8 hours; brush with egg wash just before baking so the pastry browns beautifully instead of going soggy.
- For leftovers, avoid stacking while warm, because trapped steam softens the flaky exterior and mutes that buttery crunch that makes these bites so craveable.